Wood Burner Flue Height Calculator: How High Above the Roof?
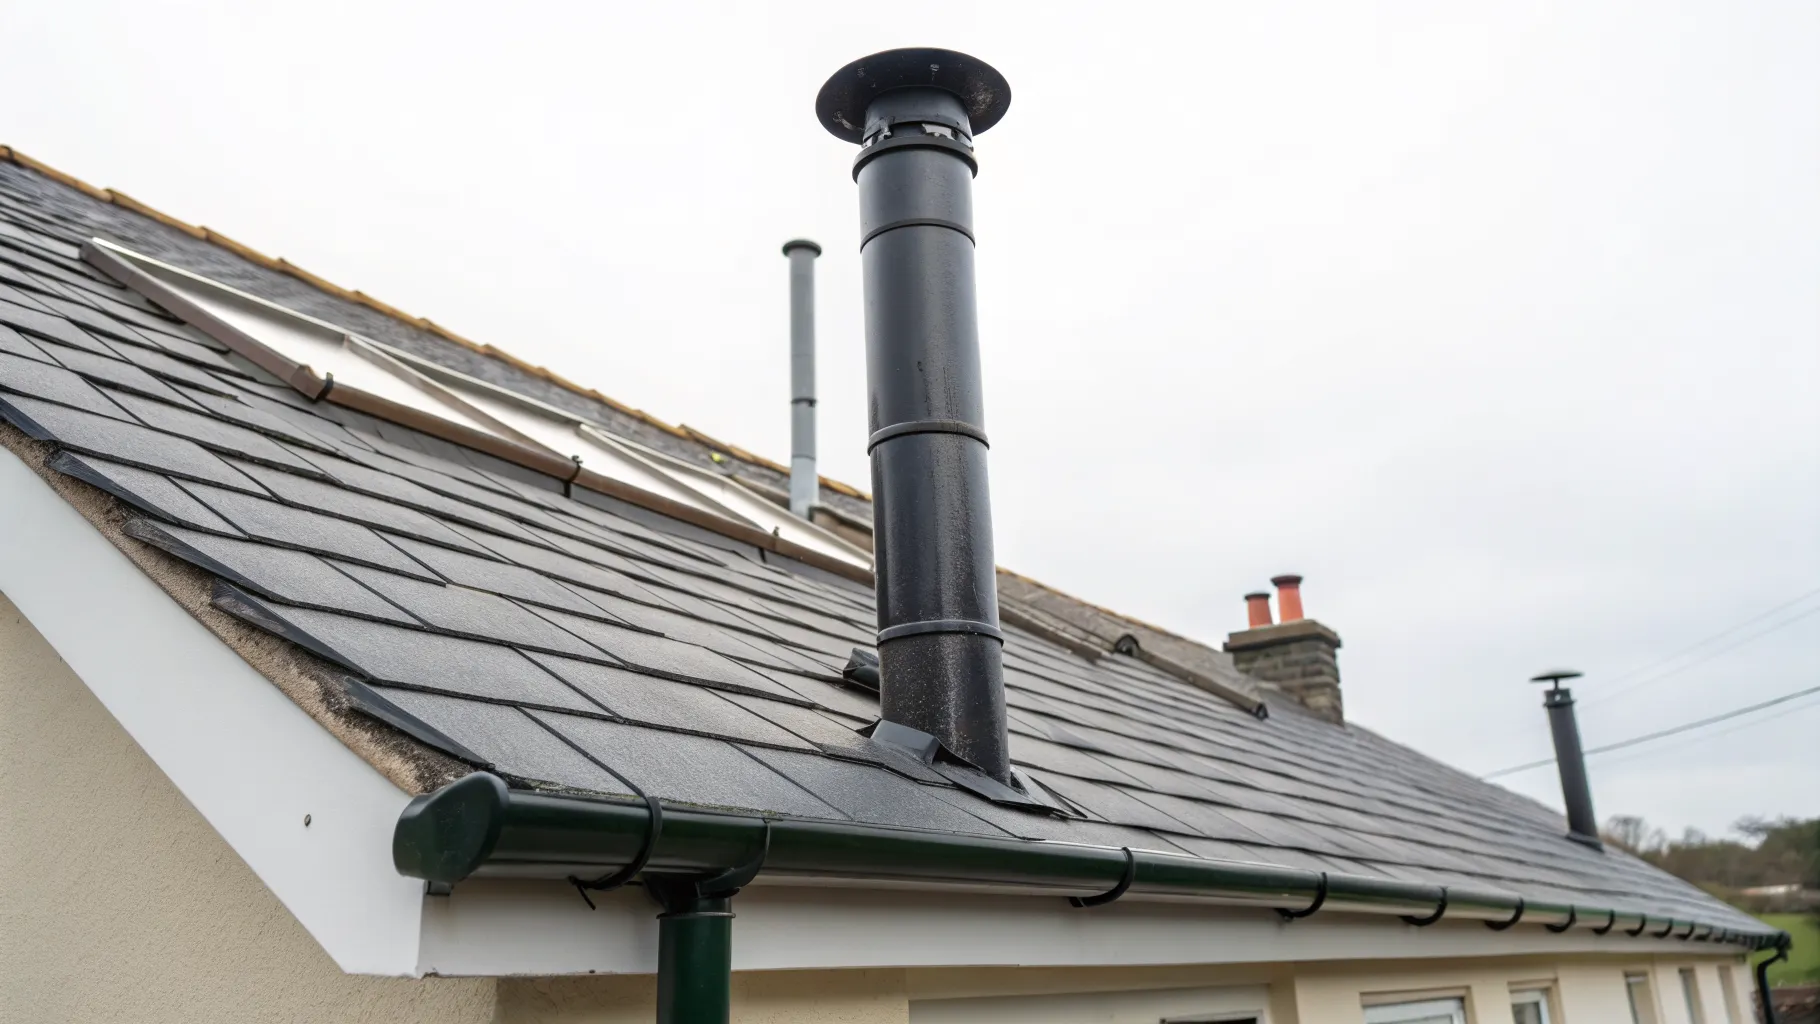
How high your flue has to finish above the roof is not a single number, it depends on where the flue comes through and how steep the roof is. This calculator applies the flue outlet rules in Approved Document J and gives you a height in metres. The part that catches people out: a steep roof needs a much taller flue than a shallow one, because the rules ask for 2.3m of horizontal clearance from the roof surface, and on a 45° pitch you only buy that clearance by going up.
Work out your minimum flue height
The answer is the height from the point where the flue passes through the weather surface, meaning the tiles or slates, up to the top of the terminal. Add the cowl height into your parts list, because the rule is about where the flue outlet finishes, and buy the next pipe length up rather than the one that lands you exactly on the number.
The Approved Document J flue outlet rules in plain English
Diagram 17 of Approved Document J sets out the outlet positions for solid fuel appliances rated up to 50kW. These are the rows the calculator applies.
| Where the flue passes through | Clearance to the flue outlet |
|---|---|
| At or within 600mm of the ridge | At least 600mm above the ridge |
| Elsewhere on a roof, pitched or flat | At least 2300mm horizontally from the nearest point on the weather surface, and either at least 1000mm above the highest point where the chimney meets the weather surface, or at least as high as the ridge, whichever of those two is the lower |
| Below, on a pitched roof, or within 2300mm horizontally of an openable rooflight, dormer window or other opening | At least 1000mm above the top of the opening |
| Within 2300mm of an adjoining or adjacent building | At least 600mm above any part of that building within 2300mm |
Two definitions matter when you read those rows. The weather surface is the outside skin of the building, so the roof covering or an external wall. A flat roof means a pitch of less than 10 degrees. Approved Document J also notes that a flue fixed vertically to an outside wall is treated as if it emerged at the nearest edge of the roof, which is why the calculator asks you to measure from that edge for a wall-mounted system.
The words "whichever of those two is the lower" in the second row are the ones people miss, and they work in your favour. On a shallow roof a fair way down the slope, ridge level can sit less than a metre above the point where the flue comes through. In that case reaching ridge level is enough, and the calculator will hand you a figure under 1m. It only asks for the full metre when the ridge is higher than that.
Why a steep roof needs a taller flue
The 2.3m horizontal clearance is the rule doing most of the work. As the terminal rises, the roof behind it rises too, so the clearance you gain depends entirely on the pitch. On a 20 degree roof, 1m of height already puts you about 2.75m clear horizontally. On a 45 degree roof the roof climbs as fast as the flue does, so you need roughly 2.3m of flue above the tiles before you have 2.3m of clear air. That is the difference between one extra pipe length and three.
There is also a zone where the horizontal rule simply cannot be met. If the flue sits between 600mm and 2.3m from the ridge, the ridge itself stays inside the 2.3m circle no matter how high you go, so the practical answer used on site is to terminate 600mm above the ridge, the same as row one. The calculator does that for you rather than returning a height that no inspector would sign off.
Height is about draught as well as compliance
Approved Document J says a minimum flue height of 4.5m could be satisfactory, measured over the whole system rather than just the part above the roof, provided the outlet position guidance is followed. Short systems and heavily bent ones struggle to pull, which shows up as smoke rolling out when you open the door and as a stove that will not get going from cold. If the calculator tells you that your total comes in under 4.5m, the fix is normally extra height at the top rather than anything at the appliance.
Wind exposure changes the answer too. Approved Document J is explicit that the heights and separations may need to be increased where wind exposure, tall neighbouring buildings, high trees or high ground affect the draught. A flue that clears the ridge by 600mm on paper can still be in the wind shadow of a large tree or a taller house next door.
Thatch and shingles are a separate job
Where the roof covering is readily ignitable, thatch or shingles being the two Approved Document J names, the clearances increase and a different diagram applies, alongside the HETAS information paper on chimneys in thatched properties. Do not size a thatch flue from a general calculator, this one included. Get a competent installer who works on thatch to specify it.
Everything here is guidance for England and Wales based on Approved Document J. Scotland and Northern Ireland set their own standards. A wood burner installation is notifiable work, so the final height should be confirmed and signed off by your HETAS registered installer or by building control.
Want the seasoning calendar and our log-price watch in your inbox?
Join the Kindling List